Eustis Estate
Conservator’s Notebook: Behind the Looking Glass
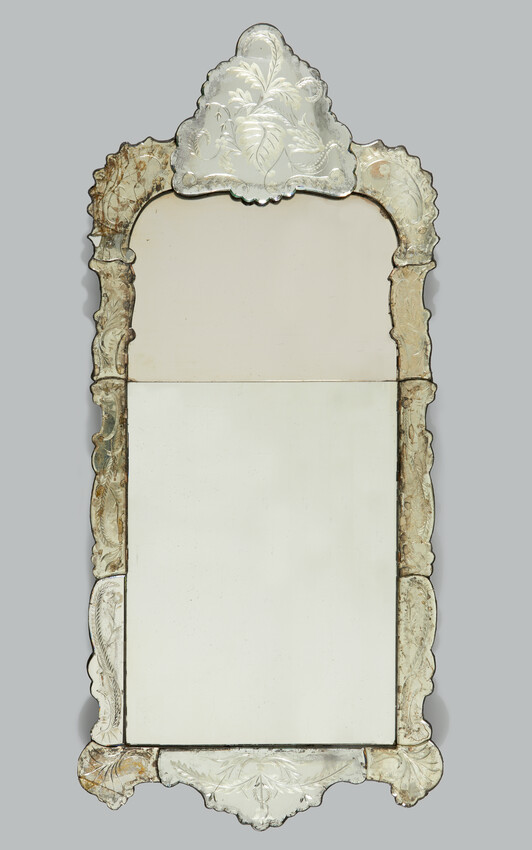
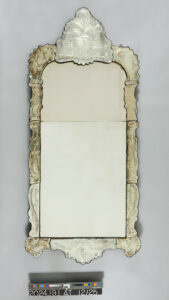
Treatment of the Looking Glass involved a lot of looking, testing and thinking. The looking glass is very heavy and has fallen off the wall several times, which consequently has led to many campaigns of treatment over the years. Several of the mirrored border panels have been severely broken and repaired with various adhesives that have yellowed significantly, the bottom central mirror pane has been replaced, and staples were added around the perimeter to provide extra support to the glass border panels.
When the looking glass arrived at Historic New England, two of the 12 border panels were detached, and several were loose. The two detached panels had unsightly gaps in the silvering material due to adhesives used during previous treatments. The goal of this treatment was to stabilize the mirror for exhibit while maintaining the visual evidence of its age and life story. Based on all our analysis, and communication with decorative arts experts, we have concluded this mirror is likely manufactured in Germany in the 18th century.
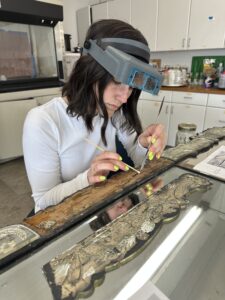
The goals of the treatment were to:
1) Try to determine age and origin of the looking glass (is the memory a myth?)
2) Spot test for mercury/silver
PXRF test confirmed silver
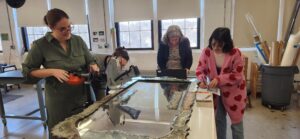
Testing revealed that the mirroring was silver, not a mercury-tin amalgam. The process of silvering mirrors was not invented until 1835, and didn’t become popular until the late 1850’s. This means that either the mirror was not produced until after 1835, or it could have been produced pre-revolutionary war and was stripped of its mercury-tin amalgam and silvered at some point in time. This is what we believe happened.
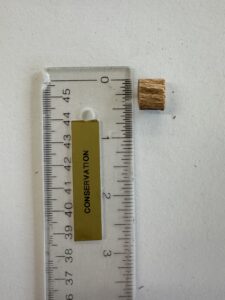
Analysis of wood sample. A paper-thin sliver of wood was examined through a microscope by an expert and identified as basswood, or lime as it is called in Europe. This wood was commonly used in European (non-English) furniture during the 18th century and helps us to confirm the attribution of the mirror as German/Austrian.
3) Stabilize the flaking mirroring on the detached panels.
4) Reattach and stabilize the mirrored frame panels so that the object can hang in the exhibition.
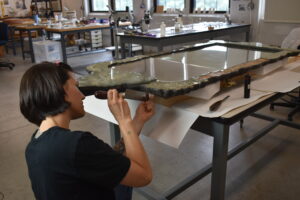
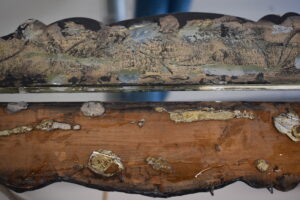
Since we believe the mirror was re-silvered in the late 19th c, we do not know how the mirrored glass panels were originally attached to the basswood frame. After the mirror was silvered, a thin layer of adhesive soaked gauze was placed between the mirrored glass panels and the wood frame to adhere the parts together. We have never seen this method of attachment before. Overtime, this adhesive became brittle and compounded by the heavy looking glass falling off the wall, several panes of glass broke or became detached.
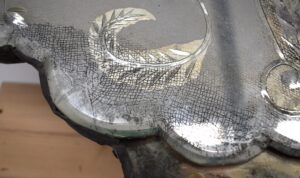
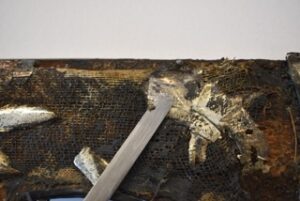
The detached and lifting flakes of silvering were carefully removed from the wood frame and readhered to the back of the glass in the spots they came from using a clear, conservation grade adhesive and a small heated iron.
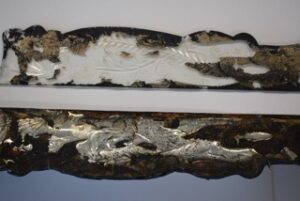
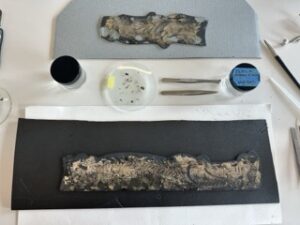
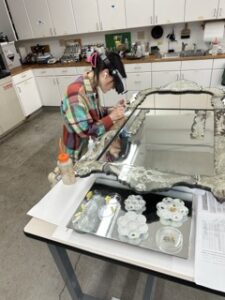
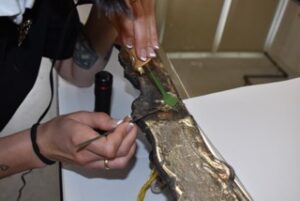
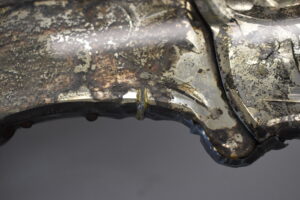
To secure the loose panels back onto the wooden frame, a mechanical attachment method was used instead of adhesive. For the outer perimeter, the adhesive holding the staples was severely yellowed and the metal was dark in color. Modifications were made to improve the look of the staples with acrylic paint and the yellowed adhesive was replaced with a clear, removable conservation adhesive.
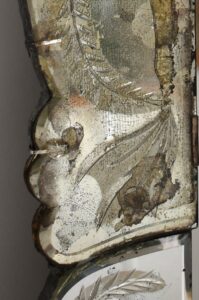
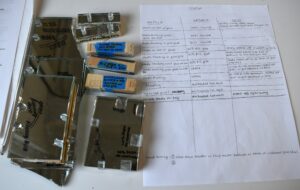
Making discrete but strong mechanical fasteners for the mirror panels to remain securely fastened to the wood frame with out the use of adhesive under the mirroring (which caused previous damage ) involved many materials test, or mock-ups) to find the most stable and unobtrusive methods.
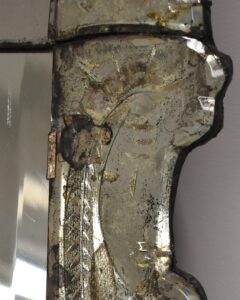
On the inside edge of the border, U-shaped brackets were devised out of ¾ inch strips of lead that slip above and below the glass and wooden frame. The lead was colored with silver gilding along the top and black acrylic paint along the sides. After shaping the lead to the correct size and toning, the bracket was adhered to the inside edge using conservation adhesive.
Improve the appearance of the mirror
Remove yellowed hot glue on staples and replace with clear conservation adhesive
Tone edges of staples.
Trace detached panels and cut mylar to shape. Coat mylar with aluminum leaf and tone to match silvering.
Place “silvered” mylar to fit between mirrored glass and wood frame to fill losses yet be completely removable.
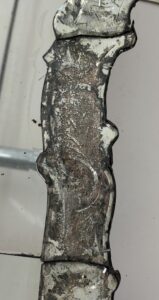
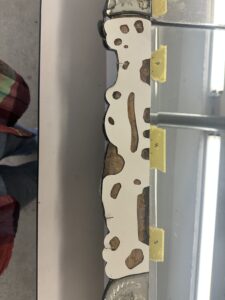
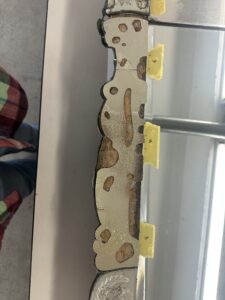
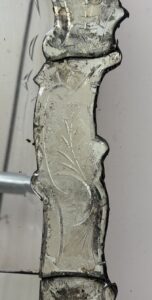
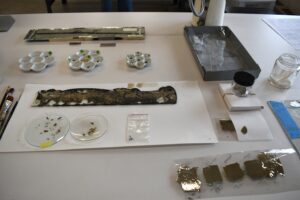
After all the stabilization of the existing silvering on the loose panels was complete, there were many areas where the silvering was missing, creating black spots and a very irregular appearance.
More mock-ups were made, this time using aluminum leaf (instead of silver leaf that would tarnish) applied to thin sheets of Mylar that could be inserted between the wood frame and the mirrored panels to “fill in “ the missing mirroring, without adding any materials that cant be easily removed.
A template was made of the shape of the glass panel, with holes cut out where old adhesive retained original silvering
The Mylar sheet was precisely cut and “gilded” with aluminum leaf.
Panel with gilded mylar inserted and secured in place with staples.